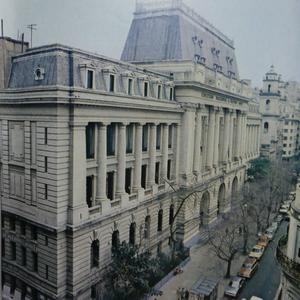
The Colegio Nacional Buenos Aires (CNBA) is a nearly two-century-old institution, located in the so-called Manzana de las Luces, where the Church of San Ignacio stands—the oldest preserved church in the city. This fact is certainly decisive for the school, which is one of those institutions where everything seems to be heritage: the building, the classroom benches, the cloister details, the teaching collections of the science departments, the oral history of its generations.
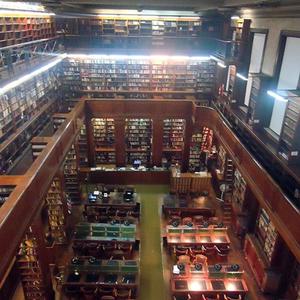
The life of the CNBA Library began with the founding of the school in 1863, and soon after it took on an appreciable organic structure. Five years later, its catalog had already reached 1,644 volumes. For over a century, it was enriched with important acquisitions and donations, as the prestige of Nacional Buenos Aires attracted numerous valuable private contributions. Its collection is encyclopedic in nature, but its richness is particularly notable in the humanities.

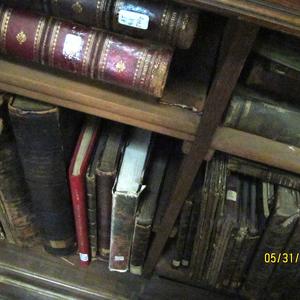

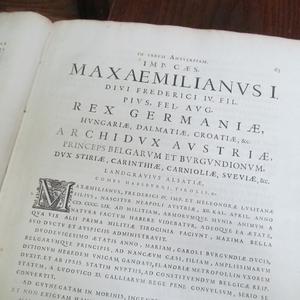
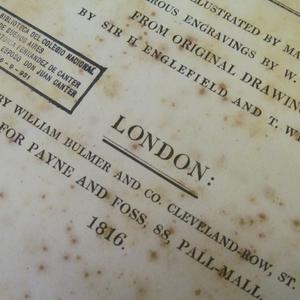
In 2013, at the initiative of the library’s director Adriana Carreira, a pilot project was launched to build a digital library to showcase the special collections it preserves. The initial goal was to digitize certain antique books from the colonial era that had been added to the collection in the 1930s. Due to their form, size, and state of conservation, these materials required special handling, and standard digitization devices were not suitable.
It’s important to remember that, despite being a prestigious and historic institution, the school is a public secondary school, and the primary role of its library—with its rare, preserved holdings—is to support the curriculum and meet the needs of students and teachers. Like all public educational institutions, budget constraints are the norm, excluding it from the target market of manufacturers of specialized book scanners—devices that must be imported and cost thousands of dollars. In countries like Argentina, only a handful of libraries can afford such costs. At CNBA, the entire project was funded by the school’s cooperative association.
To solve the need for a special scanner, we began developing the idea of building a book scanner using DIY techniques, as an appropriate solution to the problem. Previous pilot projects using do-it-yourself devices at the University of Buenos Aires’ Faculty of Philosophy and Letters and at the University of La Plata (built by Juan Suárez following instructions from the diybookscanner.org forum) served as precedents. However, the "standard model" published by Daniel Reetz, which served as the basis for these builds, did not meet the size requirements for this case.
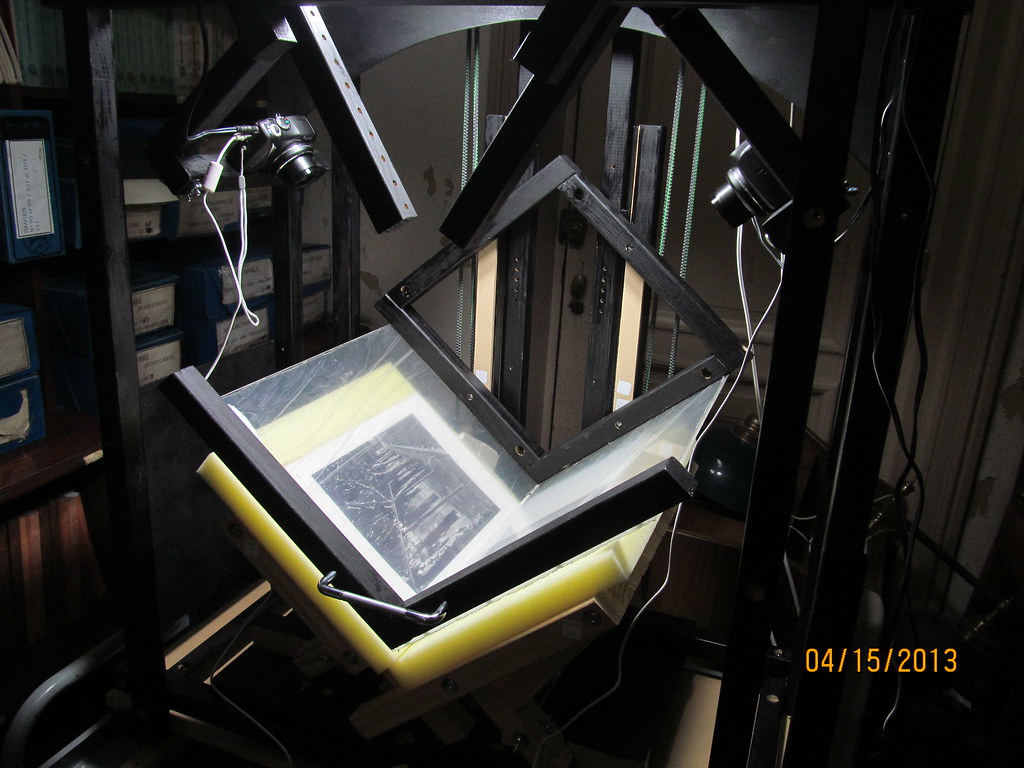
The solution was to redesign the device with a different construction technique—a task taken on by Juan. The “scanner” is essentially a stand that supports the book and fixes the position of the lights and digital cameras. A plate of acrylic or glass is used to flatten the pages, which rest in a V-shaped cradle to avoid stressing the binding. The new design used pinewood slats joined with Rietveld joints, one of the simplest and most handcrafted methods of non-interlocking joints used in furniture making.
The other challenge was integrating existing software to create a practical image capture mechanism. One issue was synchronizing the shutter release of both cameras: for this, a solution already existed thanks to the CHDK (Canon Hack Development Kit) community. By loading Canon cameras with CHDK software, it was possible to build a very simple triggering accessory. However, this didn’t solve the problem of the captured images being stored on SD cards and having to be manually transferred to a PC, renamed, and sorted before being ready for review and processing.
To solve this, we began developing simple software for the CNBA project to remotely control the cameras from a PC, allowing previewing, downloading, and processing of the images. Canon Hack Development Kit is a software resource developed through reverse engineering of Canon cameras (especially mid-range Powershot models) by a global community of programmers. CHDK’s goal is to expand camera functionality, adding features not provided (and sometimes not intended) by the manufacturer but available in more expensive models. For example, PTP capabilities (via Picture Transfer Protocol) allow remote control of the camera and image transfer via USB. A software library called chdkptp allowed us to link our software with CHDK running on the device, enabling the necessary functions.
Although the software was quickly developed using these existing open-source resources, it successfully met the basic goal and allowed the capture of dozens of publications that year —a task carried out by Santiago Sorter.
Brief Technical Overview of the Digitization Device
The device is made using clear pine (knot-free) slats, which only undergo two operations: cutting and drilling. The Rietveld joints use 3/16-inch screws instead of dowels. Exceptions to this configuration include: the rectangular base of the structure and the cradle’s base, made from 18mm thick raw MDF; the side support of the control panel, made from wood fiberboard (HDF, or chapadur as it’s called in Argentina); and the upper support with a curved cut, also made from the same material.
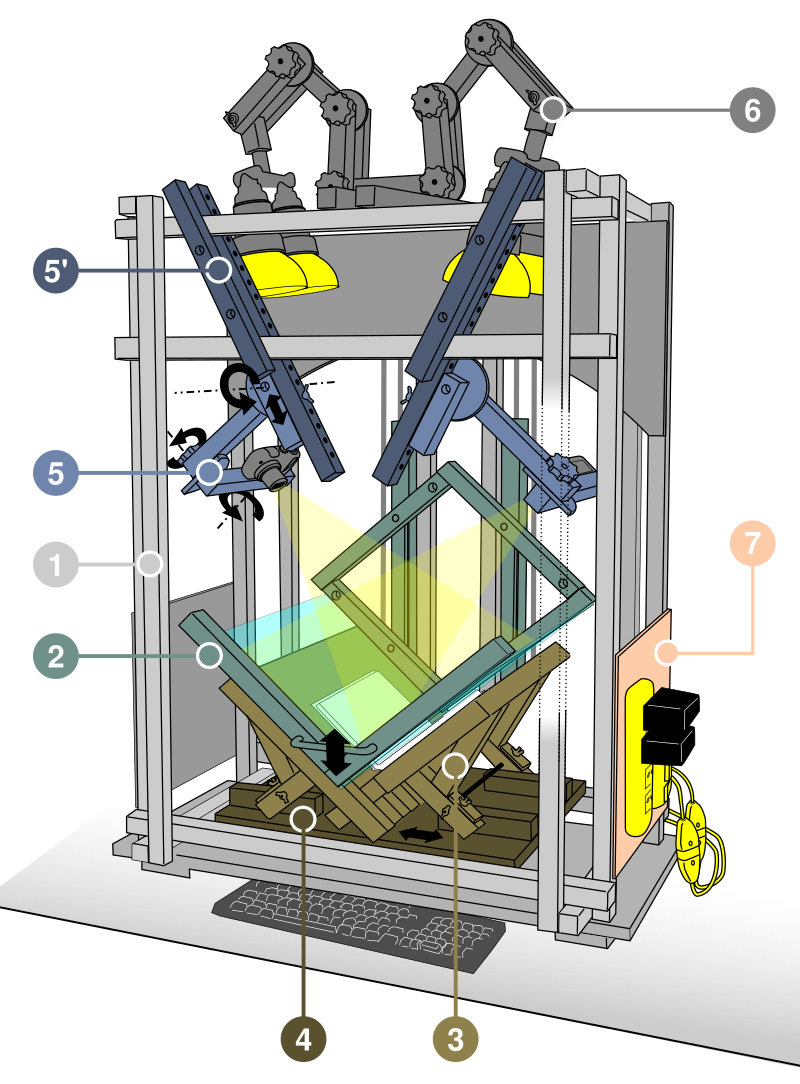
The stand consists of 7 functional assemblies, each identified with a different color:
- Main structure frame.
- Movable V-shaped platen, forming a crystal acrylic prism, attached with a pair of vertical sliders.
- Adjustable V-shaped cradle, allowing the document to be raised or lowered depending on its shape and size.
- Movable base of the cradle, connected to the structure with sliders enabling horizontal movement.
- Camera holders, each consisting of an arm holding a digital camera that rotates on three axes (to ensure orthogonality to the document), and a guide linking the arm to the structure (5') for adjusting the distance with multiple locking points.
- Adjustable light holders.
- Control panel, with power outlets for lighting and camera power supplies, and control switches.
Detail of some adjustment elements the operator needs to know:
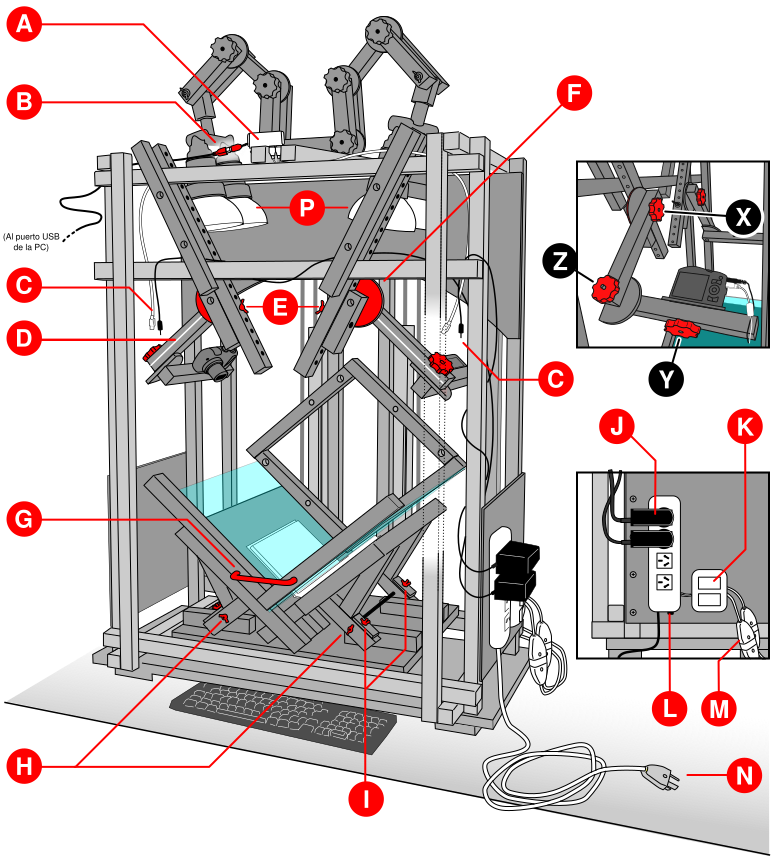
A) USB hub
B) USB extension to PC
C) USB and power connections for camera
D) Camera holder arm
E) Camera arm locking
F) Arm surface adjustment
G) Handle for raising/lowering movement
H) Cradle-to-base locking
I) Cradle tilt adjustment
J) Camera power supplies
K) Light switches
L) Main power switch
M) Light power plugs
N) Power plug to outlet
P) Lights
X, Y, Z mark the axes around which the camera can rotate, and the knobs that lock or release movement.